How to Clean Enamel Sinks: Quick & Easy Steps!
How to Clean Enamel Sinks: Quick & Easy Steps!
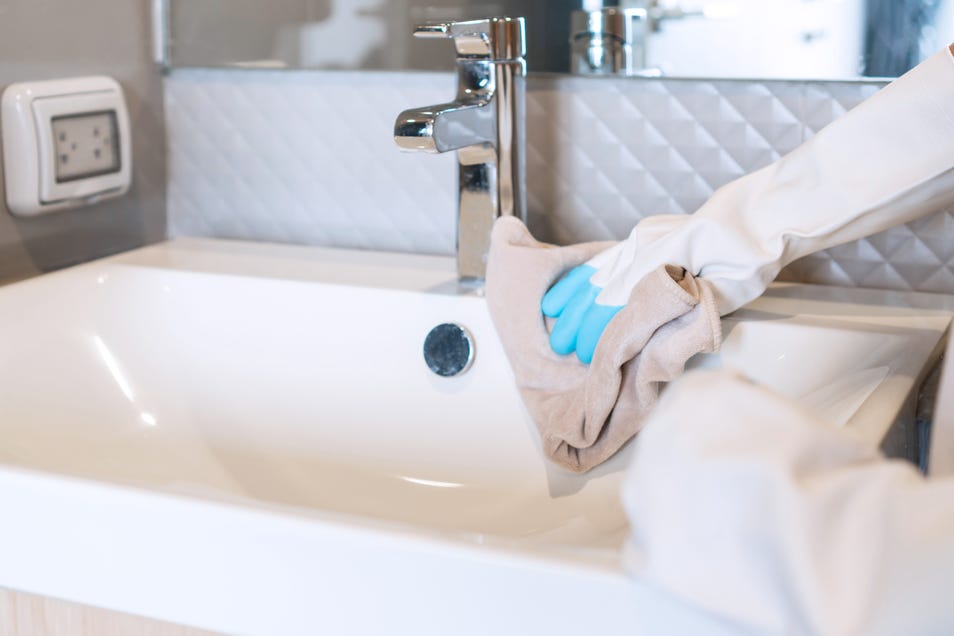
The sink, usually made of cast iron and coated with a layer of porcelain enamel, is among the most frequently used items in a bathroom throughout the content, either for handwashing, brushing teeth, face washing, or any other grooming activities.
Although enamel sinks are durable, glossy, and resistant to stains, chips, and scratches, they still need regular cleaning with powerful and dependable bathroom cleaning products to remove soap scum, residues, and bacteria buildup, ensuring a pleasant and germ-free surface for daily use.
Knowing how to clean and disinfect an enamel sink is imperative for maintaining its longevity and preventing it from becoming a favourite hiding place for odours and germs.
So follow the cleaning steps in our guide to keep your porcelain sink gleaming—and truly clean.
Cleaning sink, but first!
The best way to clean a bathroom sink involves a few simple steps: Applying the right cleaner, gentle scrubbing, and a thorough rinse. Here's a list of what you need:
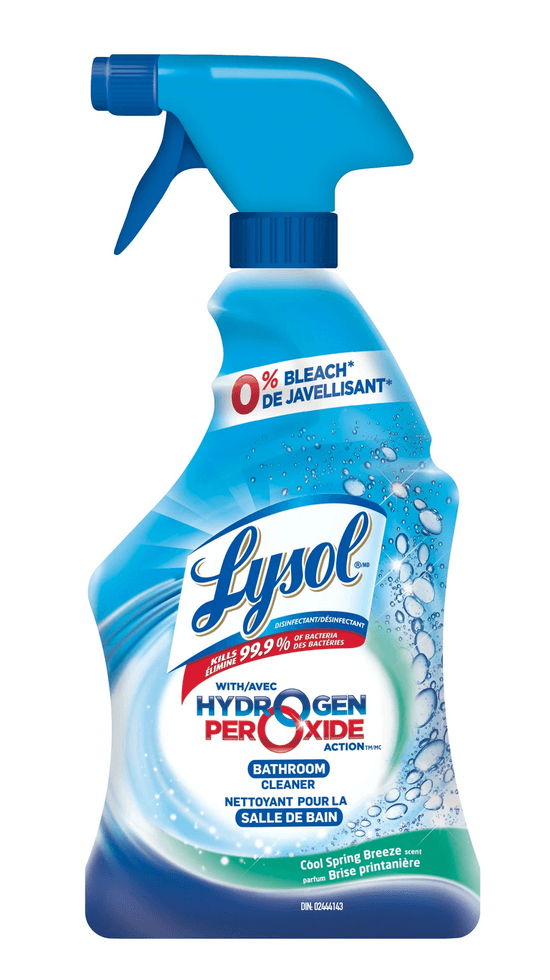
- Lysol® Hydrogen Peroxide Bathroom Cleaner
- Toothbrush
- Soft-bristle brush
- Non-abrasive sponge
- Microfiber towel
How to clean enamel sinks
Step 1: Clear the sink area
Before you begin, remove any bathroom amenities around the sink area to ensure easy access to it without obstructions.
Step 2: Apply the bathroom cleaner
Spray your sink all over, including the drain and faucets, with Lysol® Hydrogen Peroxide Bathroom Cleaner, and let it sit for at least 10 minutes. This bathroom cleaner’s powerful formula releases active oxygen microbubbles, which penetrate and dissolve tough grease and soap scum and eliminate 99.99% of viruses and bacteria*, when used as directed.
Step 3: Scrubbing
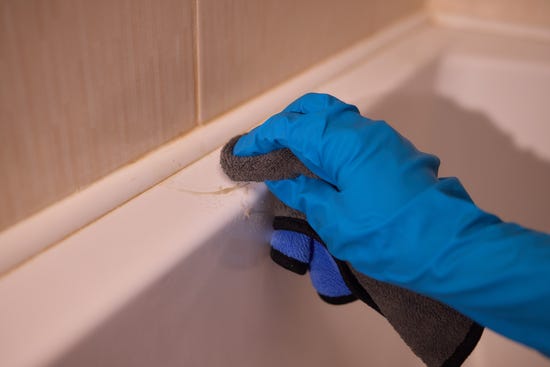
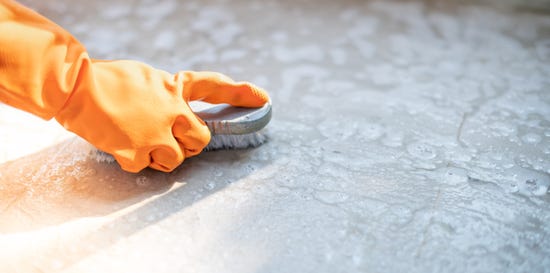
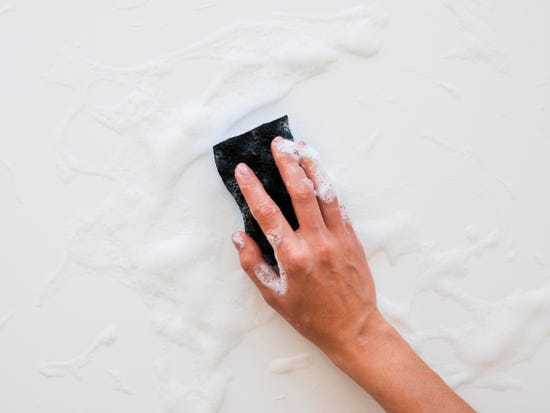
Gently scrub the entire surface of your sink with a soft-bristle brush (focusing more on the areas with prominent stain marks). Scrub in a circular motion, following its natural grain, starting at the top and sides and working your way down.
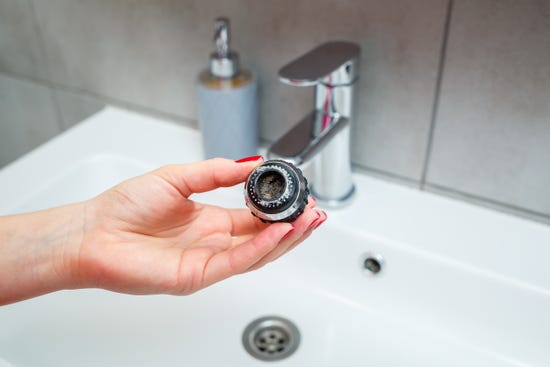
Step 4: Sink faucets
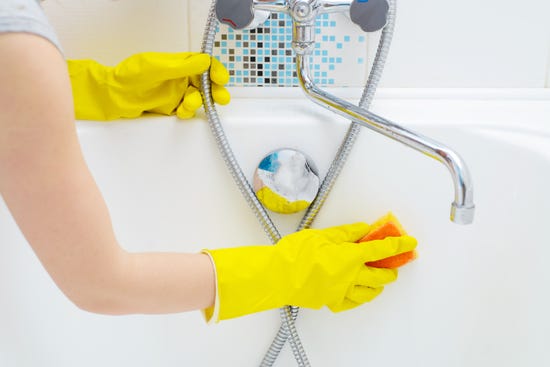
Rub the faucets and handles using Lysol® Hydrogen Peroxide Bathroom Cleaner and toothbrush.
Step 5: Rinse
After finishing the scrubbing, rinse the sink, faucet, and handles with clean and fresh water to remove any traces of cleanser and impurities.
Step 6: Dry
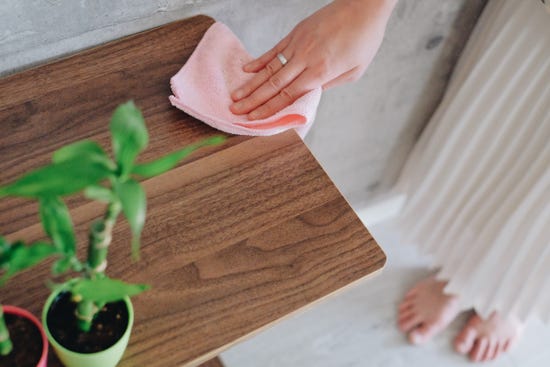
Use a fresh, clean, and dry microfiber towel to wipe down the sink, faucet, and handles.
*When used as directed.
FAQs
How often should I clean the enamel sink in the bathroom?
You should deep clean your enamel sink using the Lysol® Hydrogen Peroxide Bathroom Cleaner and the cleaning steps mentioned above about once a week to tackle stains, unpleasant odours, and kill 99.99% of viruses and bacteria*
Can germs hide in my enamel sink even if it looks clean?
Yes, germs and bacteria can still linger on enamel sinks even when they appear spotless. Bathrooms are naturally germ-prone environments due to moisture and frequent use. That’s why it’s important not just to clean but also to disinfect your sink regularly. Lysol® kills 99.99% of viruses and bacteria*, helping keep your sink truly hygienic and germ-free.
What should I avoid when cleaning an enamel sink?
It is better to avoid using steel wool, wire brushes, or any type of abrasive scrubbers or harsh chemicals, as they can scratch or dull the finish.
How do I stop the enamel sink from getting water stains?
Water stains are left behind from evaporating hard water. Make sure to thoroughly dry the bathroom sink, including the faucet and handles, after each use.
How can I keep my enamel sink smelling fresh and clean?
To maintain a fresh-smelling sink, regular cleaning and disinfecting are key. For an extra boost, try our scented all-purpose cleaners featuring the classic lemon scent or the uplifting Brand New Day™ range. Don’t forget to dry the sink after use to prevent moisture buildup that can cause unwanted odours.
